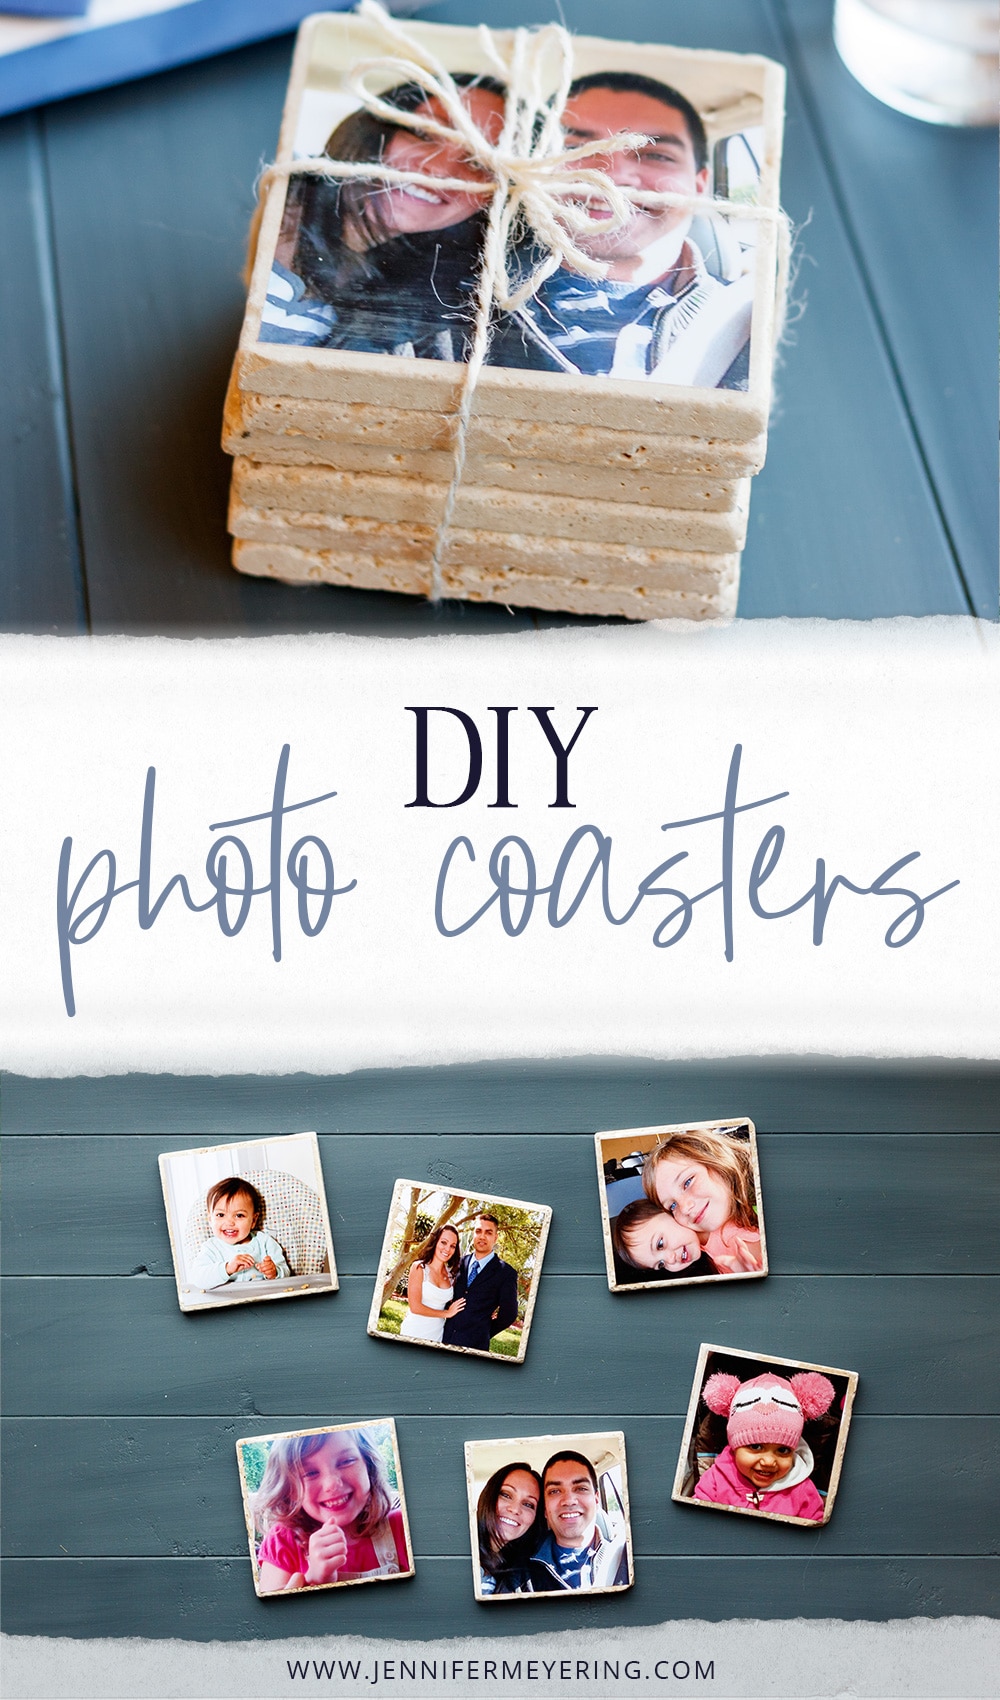
It’s been quite some time since I posted a fun DIY but that’s changing today and I am back with a sweet little tutorial for you just in time for the holiday gifting season: DIY photo coasters!
I have always wanted to make some photo coasters for my mom with pictures of my kids and my hubby and I, but for some reason just never found the time. Or rather, I should say, I never made the time. So that is changing today and with a little help from Walmart Photo!
I chose Walmart and their photo processing because I knew just how quick and easy it would be to get some great photos for this little project. I’ve ordered prints and gifts from them online before, but that must have been ages ago because I didn’t know that you can now transfer images right from your phone, in-store, using the Fujifilm Kiosk Photo Transfer App or just connecting your phone with the cable. Which means that you can upload your Facebook photos and Instagram photos to get printed right there. So genius and quick and easy.
This will definitely make it easier, and more efficient, to start printing out all these family photos that are just here stuck on my computer.

Anyway, along with ordering the 4×4 prints to make the photo coasters, I thought it would be a good idea to order some Thank You cards for the rest of the extended family this holiday season. Since I can’t make photo coasters for everyone, I thought that would be the next best thing because you know how extended families and grandparents are always bugging us for family photos.
I ordered the cards with a picture of our family on the front and then plan to include a 4×6 family photo inside for them to do with what they please. Most of my extended family keeps asking me for an updated family photo and I, once again, fail because I feel “too busy” to get it done in a timely manner. Now I’m set for at least 20 requests!
But let’s get onto our fun little project, shall we?
Most of the items can be purchased at Walmart in the crafting section at the same you pick up your photos and I found the tiles at my local hardware store.
Supplies:
- Favorite photos printed on 4×4 paper
- Decoupage glue
- Sponge brush
- 4×4 tiles
- Felt furniture stickers
- Matte or glossy (your preference) clear coat spray paint

Once you have all your supplies, let’s get to crafting!
Start by making sure that your photos and tiles are the same size. I actually got tiles that were exactly 4×4 and my photos ended up being a little bit bigger than 4×4. Not a big deal, just use some scissors and cut off any extra along the edges to make the photos fit how you would prefer. I wanted a little border of tile to show along the edge so I ended up cutting about ½ inch off of 2 sides of the photo.
Once you have your photos and tiles the desired size, brush a thin layer of decoupage glue onto the tile and also onto the back of the photo. Press the photo to the top of the tile and brush with a little more decoupage glue to smooth out any bubbles. Don’t worry, the glue dries clear.
Continue with all photos and tiles and then let dry for at least an hour.

Once the tiles have dried for about an hour, brush another thick layer of decoupage glue over the top of the photo and tile and let dry for another hour or so. Repeat this step 2-4 times, as desired – I brushed mine 4 times.
This just ensures that the photos are adhered properly to the tile and you have a decent barrier between photo and the drink that will eventually be placed on top.
Let the tiles dry for at least 24 hours.
After they have dried for 24 hours, take them outside and using the clear coat spray paint, following the directions on the can, spray the top to seal it. You really only need 1 coat but I did 2 coats just to be safe. Then let this dry completely according to the directions on the can.
After the clear coat has dried completely, take the tiles back inside and stick the felt furniture stickers to the bottom of the tiles.

Once the felt furniture stickers are on the bottom, the tiles are done! See how easy that was? Just takes a little bit of time but in about a day you’ve got yourself some gorgeous photo coasters that you can use as gifts for your family or just make yourself some for your own home with some of your favorite Instagram or Facebook photos.

I have to say that they make a great conversation piece when friends and family come to visit. And if you’re giving these as gifts to parents or grandparents, I know that they will treasure them and will always make sure to talk about them when they have friends and other family members over.

I cannot wait to give these to my mom when she comes to visit when the new baby is born. Her birthday was just a couple weeks ago and of course Christmas is right around the corner and these are perfect for both of those times. Oh, or even Mother’s Day!
The great thing about these is that they are so easy to make so when the kids get bigger, or when we add to the family, I can just make a couple more with updated photos. Which is what I plan on doing once we have the new baby in just a week!
